Category Archives: Bikes

A Day in the Woods

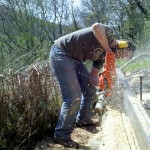
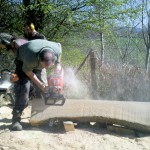
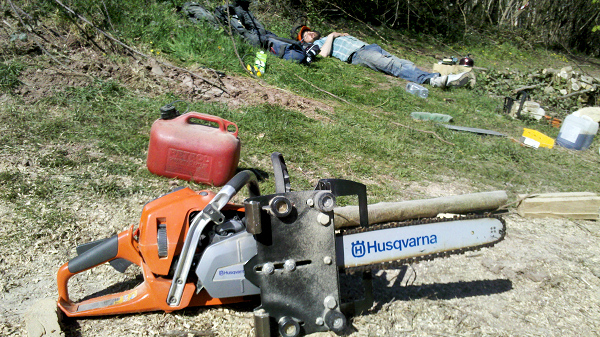
Last weekend I spent a day with The Bristol Bike Project in Strawberry Cottage Wood. This is the wood Rob Penn has been managing for the BBC TV series Tails from the Wild Wood. Our job for the day was to plank a couple of ~110 year old ash logs and return the wood to the project for our new bike shed.

It was a beautiful day for my introduction to chainsaws. I was particularly impressed with the Logosol M7 mobile sawmill. It just screws to each end then the guide can be moved up and down about a foot before having to re-screw it. It can be rotated 90 degrees to release the planks. The saw has a bracket which slides along the guide. It was still a big job!

A day in the woods.

Click thumbnails below to enlarge:

Chainsaw Mill

JamesP

JamesP

Progress!

Twin Sawing

Homeward bound!

More photos on The Bristol Bike Project blog:
Planking in Strawberry Cottage Wood for the new bike shed.

Training at Cycle Systems Academy

I last wrote about bicycle maintenance almost a year ago, here’s the next instalment.

Fork service

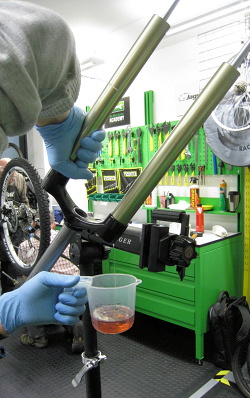
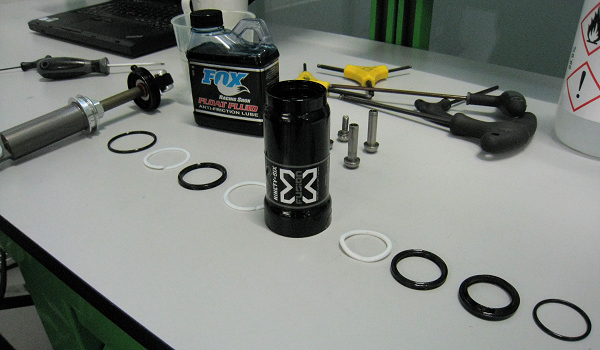
Draining oil from the fork's damper.

Last month I spent two weeks at the wonderful Cycle Systems Academy in London. I was there to take a level 3 training course in cycle maintenance, officially the Level 3 VRQ Diploma in Cycle Maintenance (QCF). This builds on the level 2 course I completed some 18 months ago with Alf and Teresa Webb at The Bike Inn. The two institutions are quite different, not least as one is in rural Lincolnshire, the other in north London! However, the training offered from both is top notch.

The syllabus of the level 3 course spends a few days on each of the following technical areas; hydraulic brakes, fork suspension, full suspension systems, complex wheel systems and advanced groupset set up (including Campag, Sram, Shimano and Shimano Di2). First time I’d worked on the (ridiculously expensive) Di2 system and I can’t say I’m totally convinced electronic shifting is future however prices are likely to fall quickly.

Fork service

Servicing a RockShox coil fork.

Fork servicing

5ml of 15wt oil in the bottom of each leg.

How many bike shops service forks and shocks these days?

There was lots of hands on experience working with the Avid, Hope (excellent British company) and Shimano hydraulic brake systems, servicing coil and air sprung forks from RockShox and Fox, X-Fusion and Fox rear shocks, building wheels from Fulcrum and the crazy ‘Cobalt’ wheelset from Crank Brothers to name just a few. Our tutors knew their stuff. I’ve never actually owned a bike with hydraulic brakes, let alone one with full suspension (wasn’t a big mountain biking scene in the Lincolnshire flatlands where I grew up!) but after getting to know the product well, I’d be very happy to run the Hope brake system.

There’s also a significant written element to this qualification with an essay on customer service and for each technical area there is a short answer exam and report to write. A multiple choice health and safety exam is also required for one unit.

Rear suspension

Four-bar rear suspension system using a Horst link.

The workshop is very well equipped with each work area having its own high quality tool set and the bikes we were working on were modern and of high quality. Although some had unusual wear associated with being dismantled dozens of times and yet hardly being ridden! It’s a pleasant 15 minute walk along Regent’s Canal from Angel tube station to the academy, just what’s needed after a Northern Line rush hour commute!

Crank Brothers Cobalt

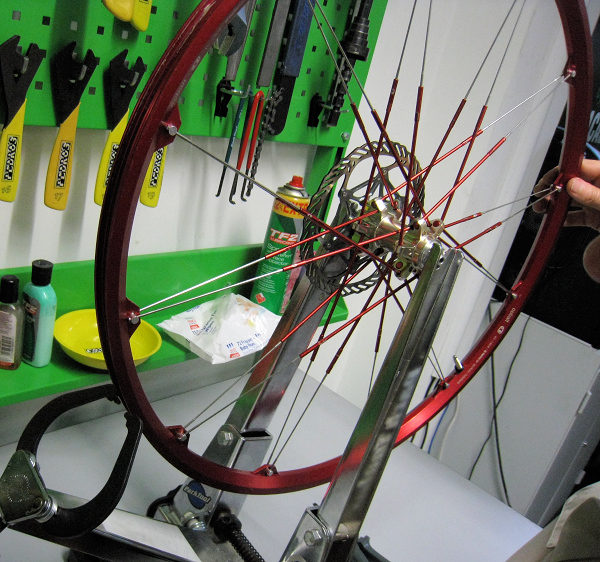
Crank Brothers Cobalt wheel, the hub mounted nipples are are long as the spokes!

These bicycle maintenance skills complement the frame building I’ve been doing. I’ve built frames with Dave Yates, Dario Pegoretti and The Bicycle Academy this year. After all this fancy kit, I’m thinking to build myself a minimalist frame for a single speed next!

X-Fusion O2

The X-Fusion O2 rear shock. Only one order works!

The certificates arrived within a few weeks.

My Week at The Bicycle Academy

Brazing

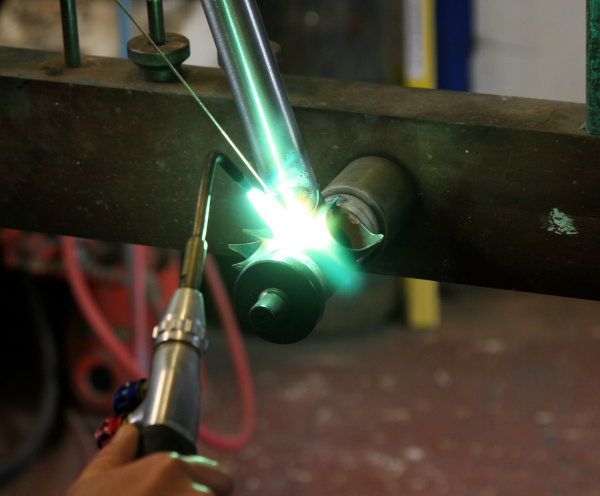
It takes a lot of practice to produce a nice fillet braze around two tubes, coming together at interesting angles.

Last month I spent a week learning about bicycle frame construction at the country’s newest frame building school, The Bicycle Academy. TBA was founded last year by Andrew Denham, with money raised in large part through a crowd funding exercise raising over £40,000 in under a week. I was one of these 183 initial backers, pre-booking a course with master frame builder Brian Curtis, Andrew and Chris Sheppard. The BBC have an article and video about TBA here: http://www.bbc.co.uk/news/business-19286163
This was my third foray into the world of frame building, having previously built a frame with Dave Yates in Lincolnshire and attended a frame building workshop with Dario Pegoretti in Verona, Italy. Each experience has been very different from the last and I’m starting to appreciate what Dave said to me about there being as many ways to build a frame as there are frame builders. In Frome we were fillet brazing with oxyacetylene, where with Dave I built a lugged frame and in Italy Pegoretti used propane for the fuel gas.
Acetylene

Acetylene is the fuel of choice, however, it's also highly volatile and demands a lot of respect.

The main focus at The Bicycle Academy, rather than to build your dream bicycle, is to learn the skills of frame building. The frames the two of us on the course would build were a standard design, the ‘Africa Bike’, which once completed would be donated through charities Re-Cycle and World Bicycle Relief. I had already taken a 1-day brazing masterclass with Brian a month earlier and it didn’t take long to get my eye in on a few test pieces. I was particularly proud of the practice bottom bracket mock-up:
Bottom Bracket

Bottom bracket test piece. A lot of heat builds up in the BB which we have to learn to adjust for. Photo credit: A. Denham.

The workshop itself is a lovely environment, well lit with as much wall space given over to cycling artwork as the tool boards. This, along with the steady supply of biscuits and coffee make the space easy to work in whether brazing with all the protective gear on or just reading one of their library’s books on frame building, cycling heroes or more general metalwork.
Before long we were marking, cutting and filing the tubes and tacking our frames up in the jigs. The jig, custom made by Chris Sheppard, holds all the tubes in exactly the right place as they are tacked together.
It was not until the final day that the frame itself was brazed. This was all done in one process to avoid multiple heat cycles. After so much practice on scrap tubing and all the work that had gone into cutting and mitring the tubes to fit just right, it all came down to this last half hour. Andrew, a veteran of many builds knew exactly how to manoeuvre the hot frame around as I gradually worked the torch’s acetylene flame and the bronze filler rod around the joints.
The job doesn’t end with the brazing though. The frame alignment needs checking and adjusting if required, the head tube must be faced and reamed and the bottom bracket tapped and faced. Straightforward jobs with the workshop’s full complement of Park Tools. And with that the frame’s complete.
It’s not a super lightweight racer but it is robust, built to last in a tough environment. The rear dropouts are spec’d for 100 kg load! My frame has a unique code number so once it’s left Frome I should be able to track it and find out just where in the world it ends up.
Finished frame

The finished frame!

The week wasn’t all filing and brazing though. We also spent some time on the computer using BikeCAD Pro which seems like a easy way to play around with designs before cutting the steel. Unique to The Bicycle Academy is that graduates (wall of fame!) are able to return to the workshop and work on their own frame building projects, paying only for workshop time and materials. I’ll certainly be making use of this for my next project. Watch this space!
Next stop, Africa.

My finished frame - next stop Africa!

The Bicycle Academy schedule is currently full up, however, they will be taking new course bookings soon. Here’s the waiting list form, fill it in and they’ll get back to you as soon as space is available.
Frame building with Dario Pegoretti

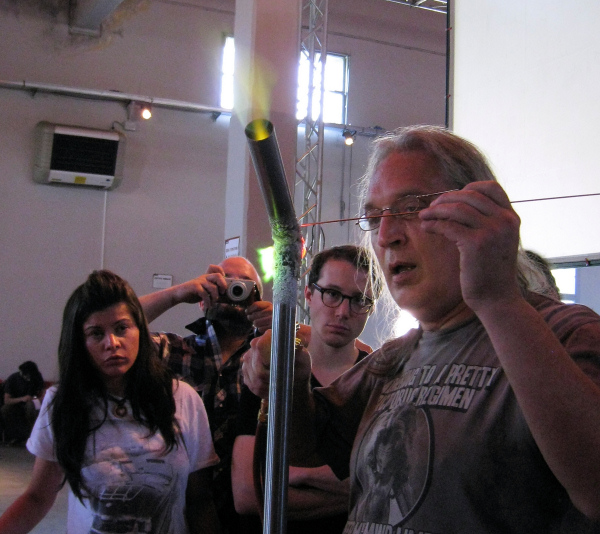
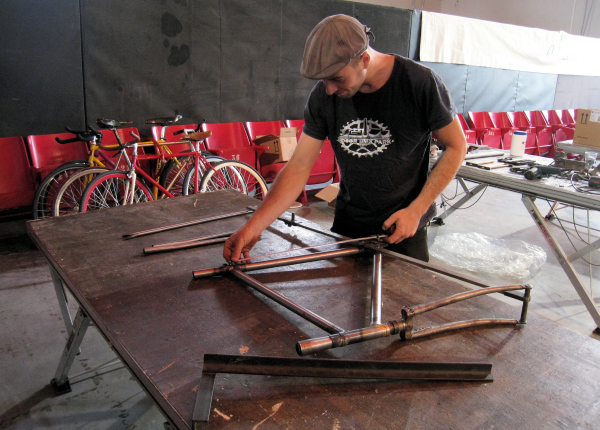
Dario Pegoretti is one of the great Italian frame builders. He built some of the last steel frames to compete the Tour. May this year I was lucky enough to head out to Verona, catch a bit of the Giro and attend a frame building workshop with Dario himself.

What follows is a short photo blog of this amazing and inspiring workshop where around a dozen of us built four frames with Dario’s help and guidance. But before my mediocre photos (I only had my little IXUS and the light was poor!), a couple of videos. The first is from the organiser (OniricaLab) and the second from Andrew Denham of The Bicycle Academy. Together they really capture the atmosphere:

COME FEMO I LAORI A CALDONAZZO… Dario Pegoretti per OniricaLab from Fuoriscala.

Tornemo Indrio from The Bicycle Academy.

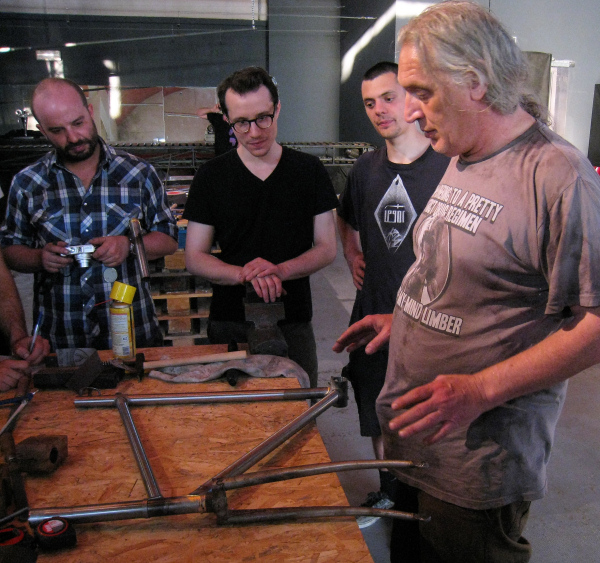
Introducing the tools

Introducing the tools.

Start with the bottom bracket and seat tube.

Start with the bottom bracket and seat tube.

Head tube and down tube, perfectly mitred.

Head tube and down tube, perfectly mitred.

Brazing without a jig.

Brazing without a jig.

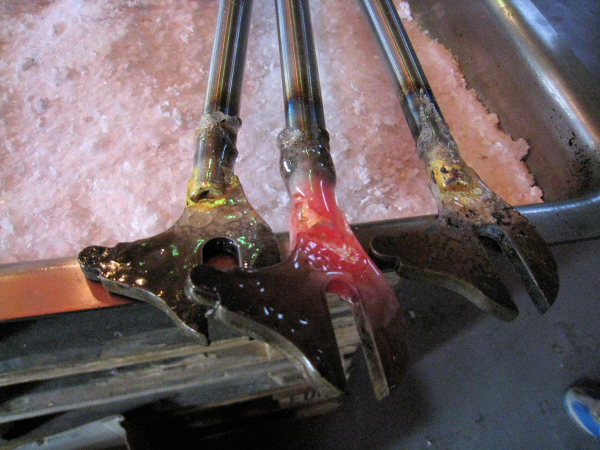
Red hot chain stays.

Red hot chain stays.

Chain stays for three frames.

Chain stays for the frames.

Allinging the drop out.

Aligning drop out.

Refining the frame's geometry.

Refining the frame's geometry.

And double checking the geometry.

And double checking the geometry.

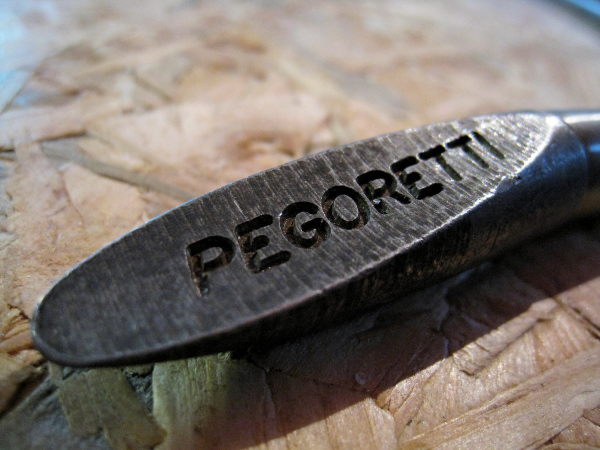
Pegoretti

Seat stay.

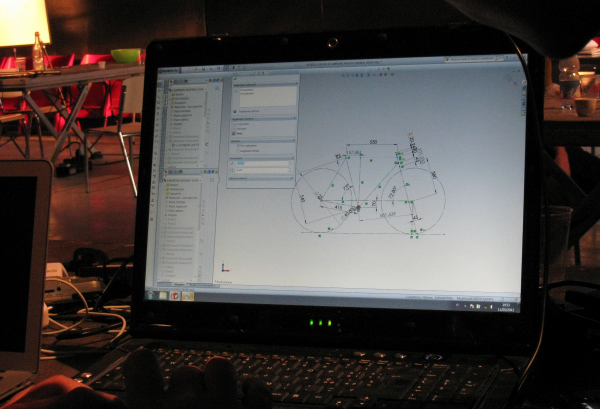
Computers can be useful.

Computers can be useful.

Everyone's keen to understand.

Everyone's keen to understand.

Nearing completion - on display for the evening's party.

Nearing completion - on display for the evening's party.

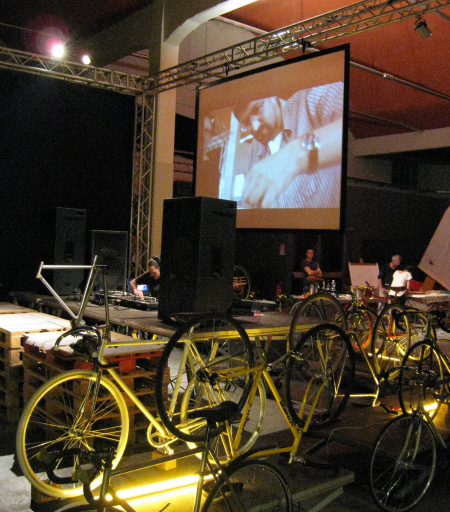
Yours truly on the big screen!

Yours truly on the big screen!

There are a few more photos on my Flickr Album here:
And the organisers album’s:
here and here.

Building a Bicycle Frame with Dave Yates – Day 5

Day 1Day 2Day 3Day 4Day 5

The frame may have looked finished yesterday, but there was still a lot to do! Today’s tasks:

  • Frame shot blasted
  • Excess brass filed off
  • Any brass gaps touched up
  • Excess tube ground away from inside bottom bracket
  • Bottom bracket cleared with taps
  • Bottom bracket faced
  • Head tube reamed, top and bottom
  • Seat tube cleared (27.2mm)
  • Fork tracking checked
  • Rear tracking and frame alignment checked
  • Plug air holes (steel rod / silver)
Reaming the head tube

The head tube needs to be reamed so the headset cups sit perfectly. For added precision we used the lathe's axis with the cutting tool spinning.

Clearing the bottom bracket

The cast bottom bracket already has a thread, but running the taps through cleared the thread and removed any remaining traces of the tubes sticking through.

Facing bottom bracket

When using external bearings, like the Shimano Hollowtech, the two outer faces of the bottom bracket must be perfectly parallel. This tool does that.

Filling air holes

When a tube is brazed at both ends it becomes sealed. This is a problem when applying a lot of heat as the air inside expands and can only escape past the molten brass you're trying to make a joint with. All sealed tubes have to have air holes drilled but we don't want to keep these holes so they are filled with a steel pin an drop of silver solder.

Alligment

These rather substantial bits of steel sit square in the dropouts and provide the leverage required to encourage the steel into perfect alignment.

So there we have it. In five days I’ve managed to build myself a fine bicycle frame. Dave is an absolutely fantastic teacher. Over the five days he only touched a tool to the frame a handful of times, and only applied the torch once, when demonstrating the more delicate technique required when brazing with silver. When teaching it can be easy for the teacher to teach by demonstration, and end up completing half the work themselves. That’s not Dave, he explains clearly and watches closely providing continual guidance.

It’s with the painter now – come back soon to see the finished bike.

Day 1Day 2Day 3Day 4Day 5

Building a Bicycle Frame with Dave Yates – Day 4

Day 1Day 2Day 3Day 4Day 5

The main frame was finished yesterday. Today there are lots of details to add:

  • Brake bridge cut, filed and brazed
  • Bridge for mudguard cut, filed and brazed
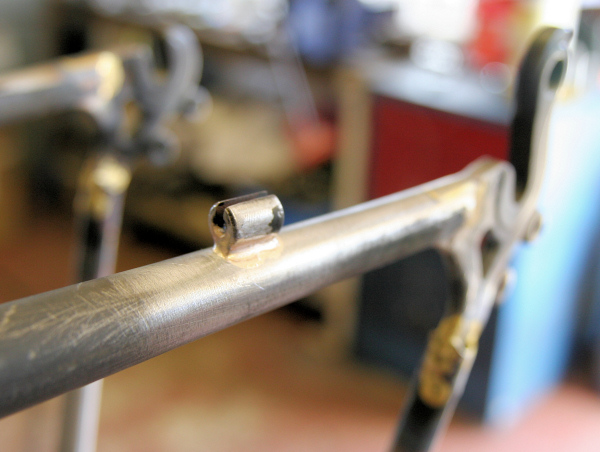
  • Bottle bosses drilled and silver brazed
  • Rack mounts brazed
  • Gear cable stops silver brazed
  • Cable guide silver brazed
  • Seat tube cut and filed to lug
  • Head tube cut to lug
  • Forks shot blasted
Bottle boss

With the frame out of the jig now, the detail can be added. Two jigs are used to ensure the holes for the two bottles are drilled in the right place.

Gear cable stops

The walls of the 853 down tube are very thin, as little as 0.4mm away from the butted ends. For this reason the brass with its melting point of around 820°C is a bit risky. Far more expensive silver solder has a safer melting point of around 600°C so is used for the braze ons.

Cable guides

Again, silver solder used for the cable guides on the under side of the top tube.

Cable guide

Here's the cable guide for the rear derailleur on the bottom of the chain stay.

Front dropout

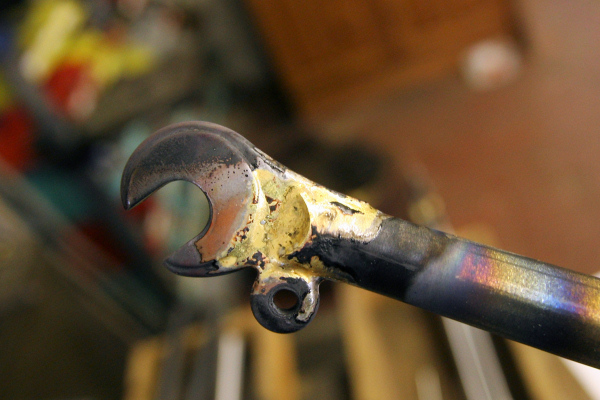
Shot blasting does a great job of cleaning up the joint of flux and any surface oxidation.

Compare the before image!

Finished frame

By the end of day four, the frame is almost finished!

Day 1Day 2Day 3Day 4Day 5

Building a Bicycle Frame with Dave Yates – Day 3

Day 1Day 2Day 3Day 4Day 5

The job list for day three looked something like this:

  • Cut chain stays to length
  • Cut and mitre bottom of down tube
  • Assemble main triangle into jig
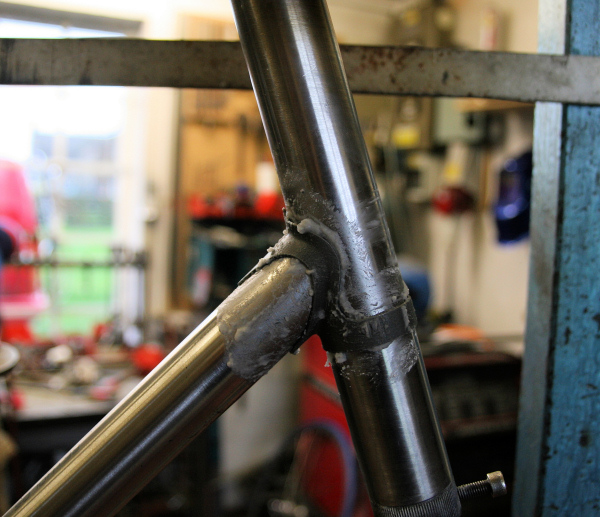
  • Braze down tube to head tube
  • Braze seat tube to top tube
  • Braze down tube to bottom bracket
  • Braze chain stays into bottom bracket
  • Cut seat stays to length and angle
  • Braze plate onto seat stays and file
Down tube, meet head tube

Down tube mitred to fit head tube.

Seat stays

Seat stays are cut to fit the cast dropout in the same way the chain stays were.

Top tube, fluxed

Before brazing the metal surface is covered with flux to prevent oxidation which would prevent a good joint forming.

In the jig

Down and head tubes, in the jig, lug in place, plenty of flux - ready for the torch!

In the jig

Same story for the top tube and seat tube.

Seat stay

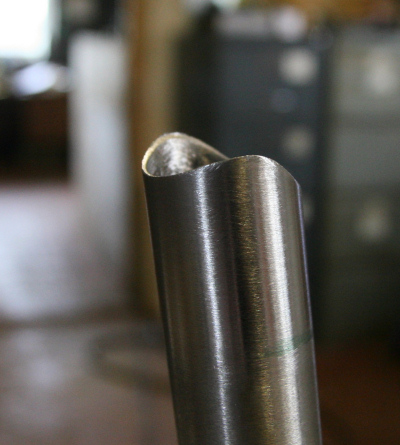
This is the top of the seat stay. It's cut like this so a solid plate can be brazed over the end.

Brazing

And here I am brazing that plate onto the seat stay.

Day 1Day 2Day 3Day 4Day 5

Building a Bicycle Frame with Dave Yates – Day 2

Day 1Day 2Day 3Day 4Day 5

Lots of jobs on day two, some big, some small, most escaped the camera:

  • Finalise dimensions
  • Round off spikes from lugs
  • Mitre top tube – braze onto head tube
  • Bend fork blades
  • File dropouts smooth
  • Cut fork blades to length
  • Lathe crown race
  • Drill air holes in fork blade
  • Drill (and recess) hole for brake in fork crown
  • Braze fork blades into crown
  • Mitre top of down tube
  • Cut out small bridge from bottom bracket (between chainstay lugs)
Top tube

Here is the top tube mitred to fit the head tube.

Top tube and head tube

The fit is pretty good!

Fork crown race

The fork crown race has to be cut to exactly the right diameter for the headset. We used a lathe for extra precision.

Top tube brazed to head tube

Here's the top tube brazed to the head tube.

Brazing the forks

Here the fork blades are being brazed into the crown.

By the end of day two I have a few sub-assemblies. The top tube and head tube, the seat tube and bottom bracket, the forks are pretty much done and dropouts are on the chain stays. On day three it should come together to form a bicycle shaped object.

Day 1Day 2Day 3Day 4Day 5

Building a Bicycle Frame with Dave Yates – Day 1

Day 1Day 2Day 3Day 4Day 5

I spent the first week of April 2012 with Dave Yates in Lincolnshire building myself a bicycle frame. This photo blog charts its progress.

Reynolds butted tubing

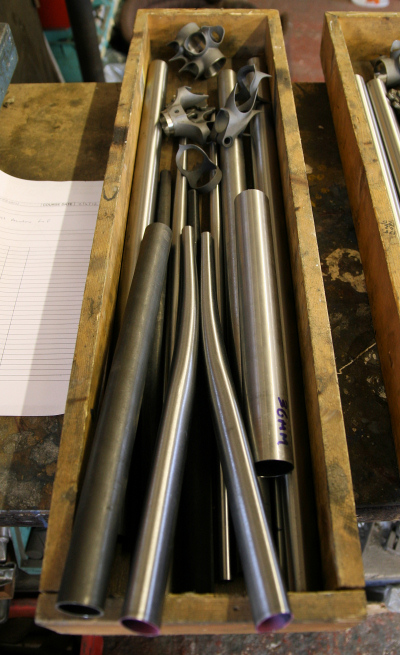
Here are the Reynolds butted tubes at the start of the process. The head tube, top tube, and seat tube are 631, the down tube 853, seat and chainstays 725 and the forks Reynolds R.

Brazing bottom bracket

Within a couple of hours of arriving I was brazing the bottom bracket lug and seat tube. At this stage we hadn't really thought about the eventual geometry - but it was safe to say it would need these two components! It was really good to get stuck in without having to just talk for hours at the start of the week.

Brazed bottom bracket

The finished article. Dave's happy so I'm happy. A lot of brass went in, it's gone all the way through and none's on the floor. The joint's good. A bit of shot blasting and filing will clean it up nicely.

Chainstays

I'm using cast vertical dropouts which have to slot into the chainstays. They are cut and filed to look like this.

Rear dropout

Before brazing all the surfaces must be cleaned with emery paper and flux applied to prevent oxidation of the surfaces.

Rear dropout

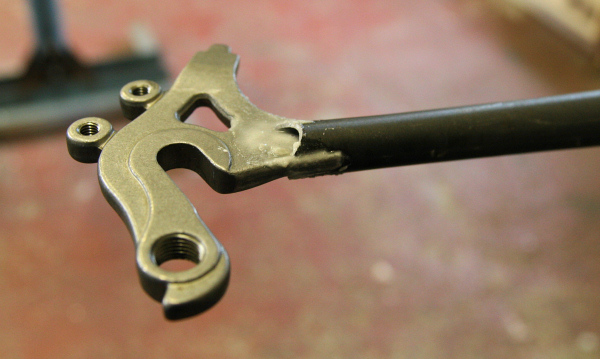
Lots of brass makes a solid joint. Still needs lots of filing to make the cast blend smoothly into the stay.

Seat stays

The fork blades are prepared, ready for the dropout in the same way.

Front dropout

Front dropout securely attached to fork blade.

By the end of the first day I felt like I’d achieved a lot. Dave’s place is next door to RAF Coningsby, home of the Battle of Britain Memorial Flight. There were Spitfires circling above the workshop, which, along with the oxy-acetylene torch and the sunshine made for a very special day.

Day 1Day 2Day 3Day 4Day 5